|
|
||||||
Step-by-Step Instructions
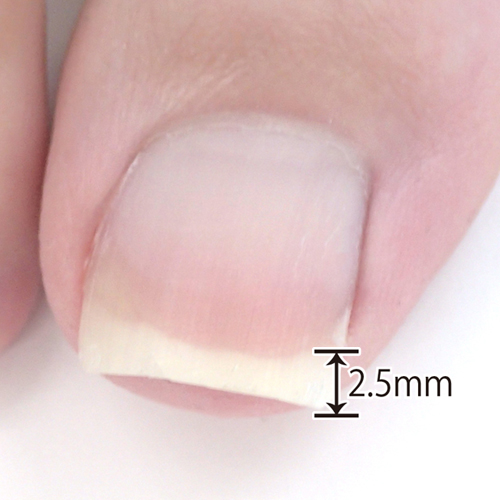 |
Step 1: Prepare the Nail Before attaching NailLift, make sure the white tip of your nail is about 2.5 mm long. If your nails are too short or too rounded, click here for more detailed instructions. |
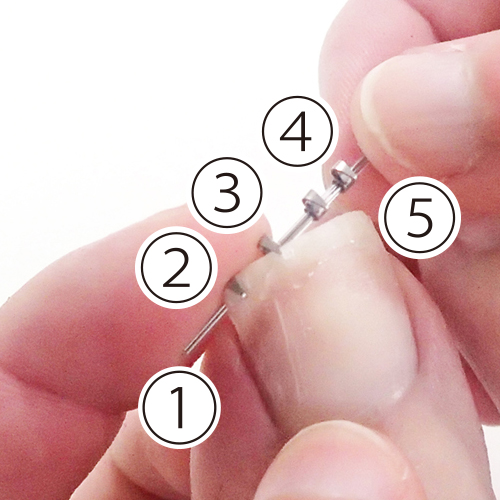 |
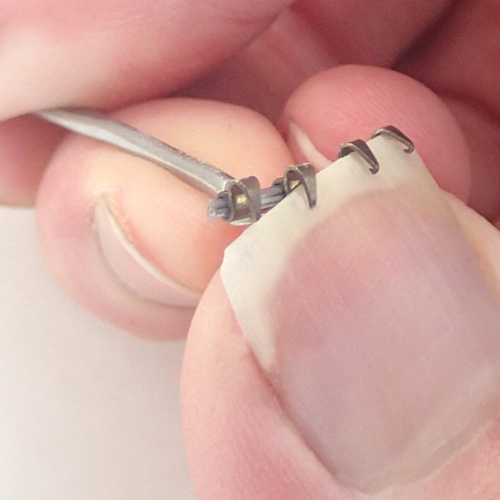
Step 2: Hook the Clips on the Nail Space the clips evenly along the length of the nail tip, leaving extra wire at each end. Pin the wire under one corner of the nail at ①. Then, push each clip on all the way in. Work from one end to the other in order of ②③④⑤. Leave a little room between clips ② and ⑤ and each edge of the nail. |
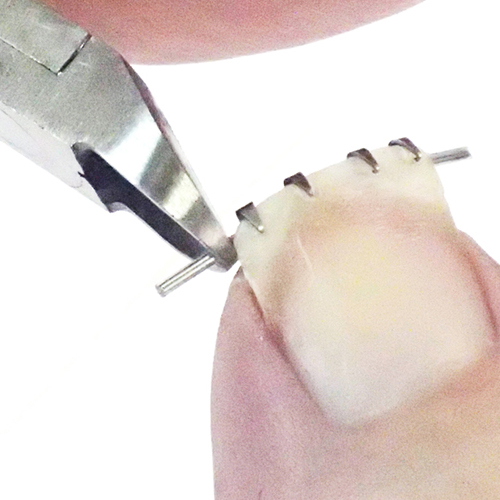 |
Step 3: Trim the Wires Make sure the wire is safely tucked under each corner of the nail. Then, with the sharp edge of the wire cutter facing up, carefully trim the wire slightly shorter than the width of your nail. |
 |
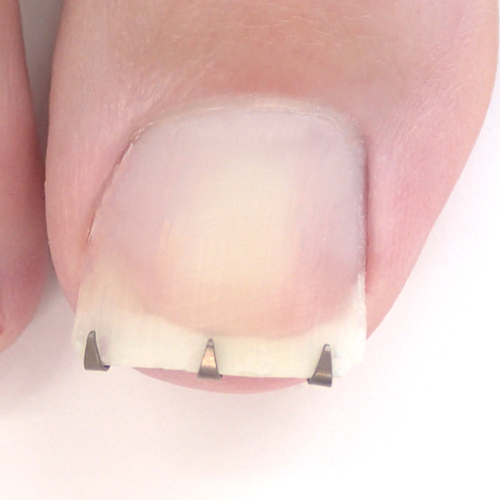
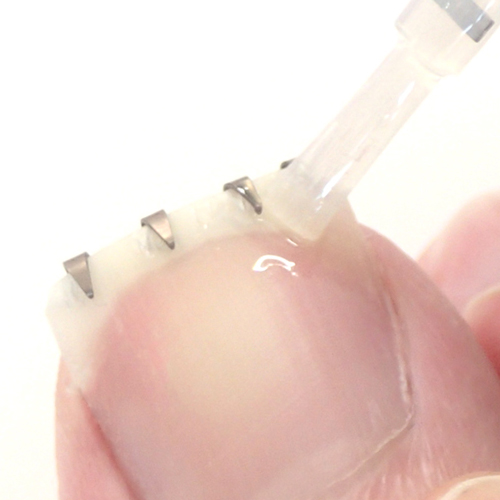
Final Adjustments Using the included nail file, push the clips all the way in and press firmly down to ensure a good grip. |
If your nail is too thick or too thin for the clips to grip properly, click here for more detailed instructions. → Before Application
 |
For Smaller Nails Please slide one or two clips off of the wire and evenly space the remaining clips along the nail tip. Then, attach as usual. |
If your nail is too thick or too thin for the clips to grip properly, click here for more detailed instructions. → Before Application
Instructions for Special Cases
Please click on the links below for more detailed instructions if your nails have the following conditions:
 |
 |
 |
 |
 |
||||
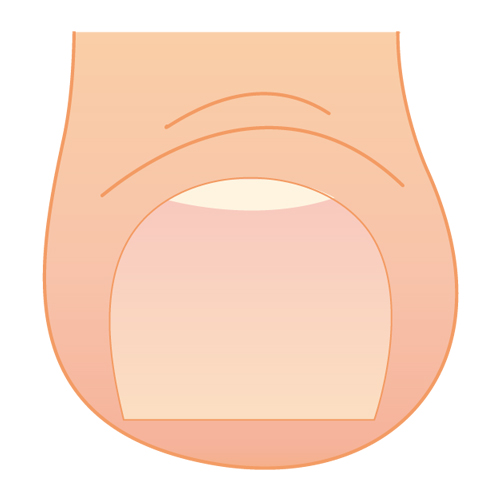
One or both corners of your nail is curved at a right angle. |
Your nail is very curved and the clips are difficult to attach. |
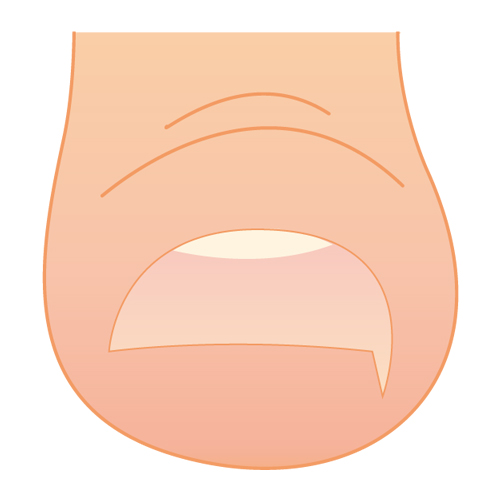
Your nail is too round. |
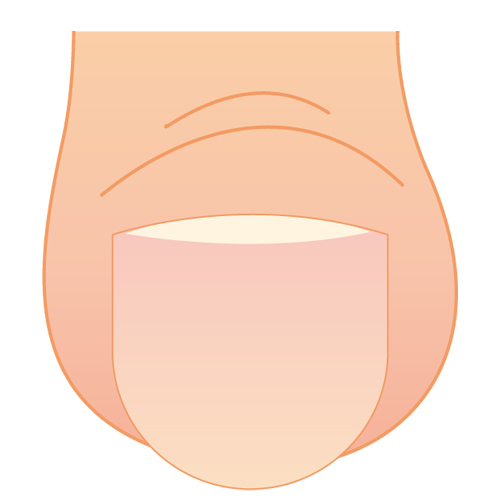
Your nail is too short. |
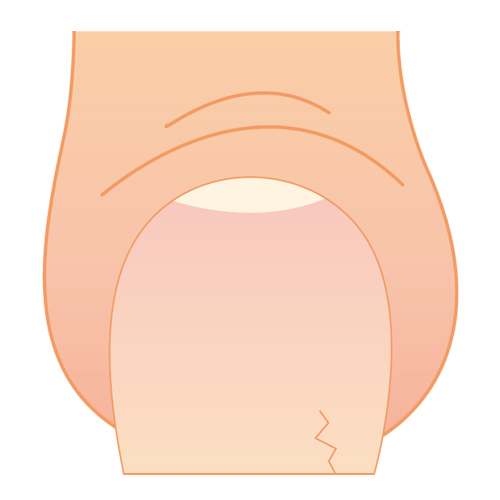
Your nail is cracked. |
||||
Removing NailLift
 |
Without Gel / Super Glue NailLift will correct most curved nails within 1-2 weeks. However, we recommend leaving it on until your nail grows too long and begins to interfere with daily activities. |
 |
With Gel / Super Glue If you applied a layer of gel or super glue (cyanoacrylate) over NailLift, you may trim the nail with NailLift still attached. |


Copyright © 1991-2024 JPS Corporation. All Rights Reserved.