
Procedures
How to attach NailLift
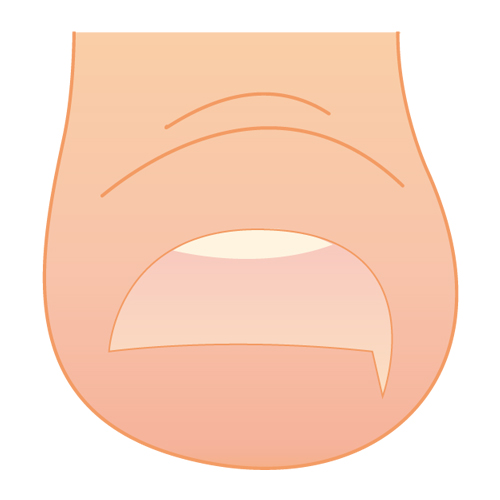
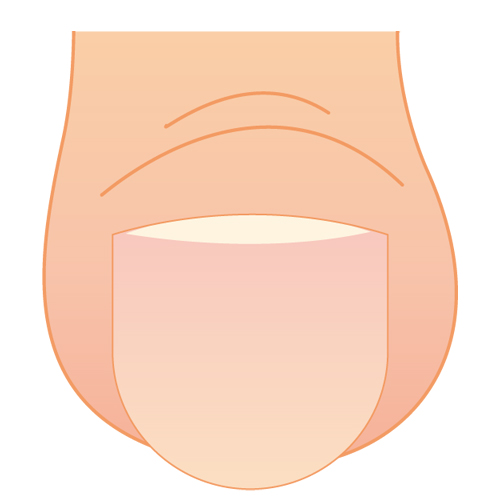
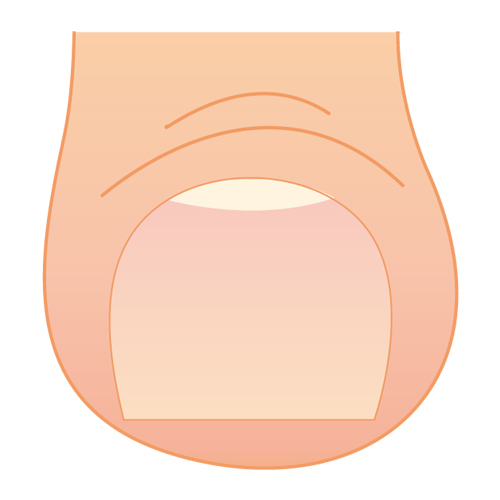
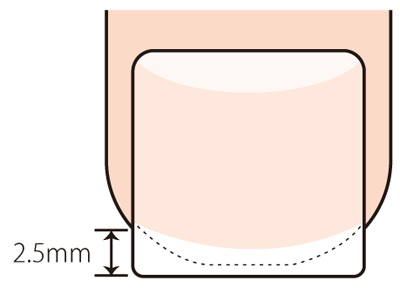 <Before insertion>
・Edge of the nail should be around 2.5mm. Cut the edge of the nail straight across, and shape the nail square as much as possible.
・If edge of the nail does not have enough length or it is shaped as round, you can refer special approach.
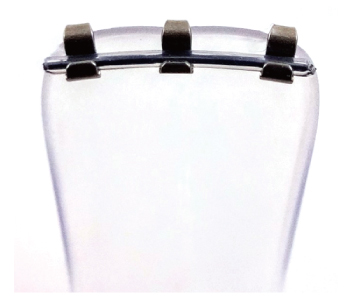
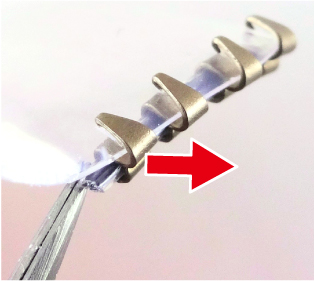
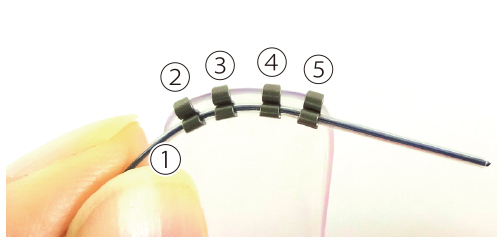 <Attach NailLift>
Move clips to adjust space along the nail.
Place wire under the nail ① and insert clips slightly inside of the nail from ② to ⑤ at the equal spaces each other in order to fix firmly.
If your nail is highly curved on only one side, for more effective correction, insert and fix clips side by side as shown in red circle.
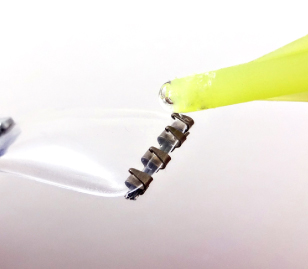
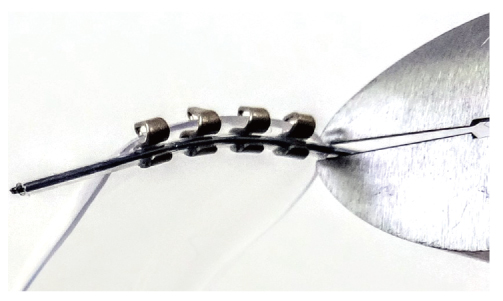 <Cut wire properly>
Be sure that wire is entirely under the nail from side to side, then cut excess wire at a point slightly inside from the nail by inserting a flat surface of wire cutter under the nail.
Dispose the cut end of wire properly to ensure your safety use.
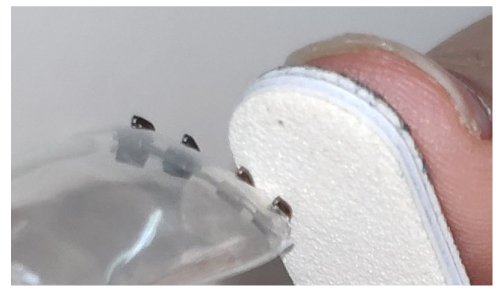 <Fix NailLift firmly>
Push all clips against the nail firmly, and make sure that no wire end protrudes from both sides of the nail.
Special cases
・Particularly thick or thin nail
・In the case of narrow nail
Reduce the number of clips from four to three or two according to the width of the nail.
・Either or both of left & right edge is bent as right angle

・Too strong ingrown nail
・Round shaped nail
・Edge of the nail does not have enough length
・Cracked nail
How to remove NailLift
 Even after the ingrown nail is corrected in 1 to 2 weeks, we recommend that you keep attaching NailLift until the nail grows as to feel uncomfortable in daily life.
If nail has enough grown, cut it with clip attached.
If it doesn't have enough length to be cut, please insert something long thin such as tip of tweezers behind the clips and push them forward.
 Even the nail that is coated with gel adhesive glue or GelNail can be cut with clips attached.
If using dedicated file, clips can be remove without cutting the nail.
Please refer How to remove NailLift on Gel Nail.